> For the complete documentation index, see [llms.txt](https://how.router.works/llms.txt). Markdown versions of documentation pages are available by appending `.md` to page URLs; this page is available as [Markdown](https://how.router.works/remote/vpn-tunnel/tailscale.md).
# Tailscale
Tailscale is a VPN solution that provides seamless connectivity between devices across different networks without the need for public IP addresses or complicated firewall rules.
By joining a Tailscale network, your router can function as a subnet router, enabling remote access to local resources or securely connecting multiple subnets.
## Example of Setting Tailscale
Navigate to the router menu: SYSTEM > Terminal. Enter the username root and log in with the password you set.
### 1. Install Tailscale
All commands are executed in the SYSTEM >Terminal section of the router menu.
```
opkg update
opkg install tailscale
```
### 2. Enable the ZeroTier
Enable and start the Tailscale service.
```
/etc/init.d/tailscale enable
/etc/init.d/tailscale start
```
### 3. **Authenticate and Join Network**
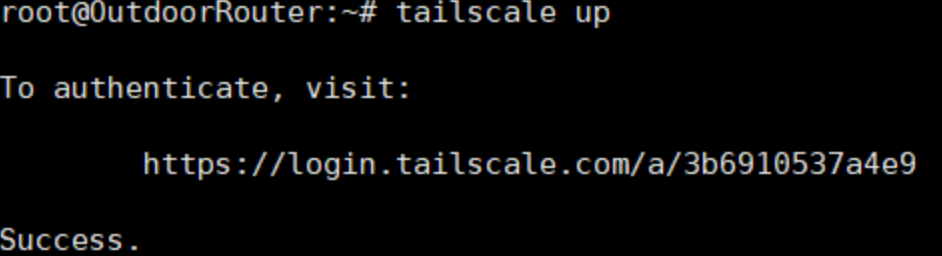
Use this command to authenticate your device:
```
tailscale up
```
This command will generate a URL. Open the URL in your browser and log in with your Tailscale account to authorize the device.
### 4. **Configure as Subnet Router (Optional)**
If you need to expose the local subnet through Tailscale, use:
```
tailscale up --advertise-routers=192.168.30.0/24 --accept-dns=false
```
Replace `192.168.30.0/24` with your local subnet.
Prevent Tailscale's DNS Settings from disrupting your local network.
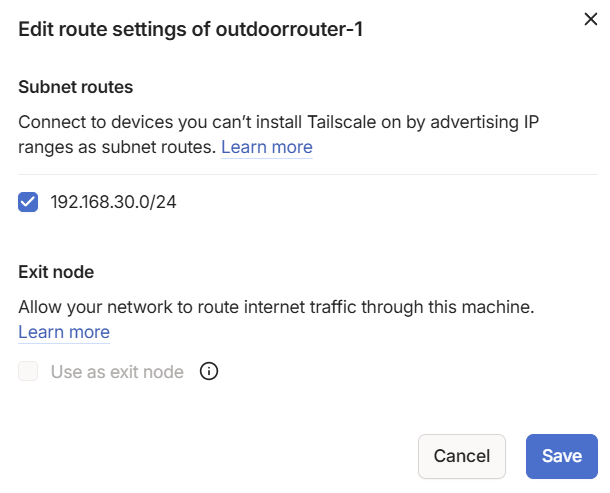
### 5. Enable Subnet Routes in Admin Console
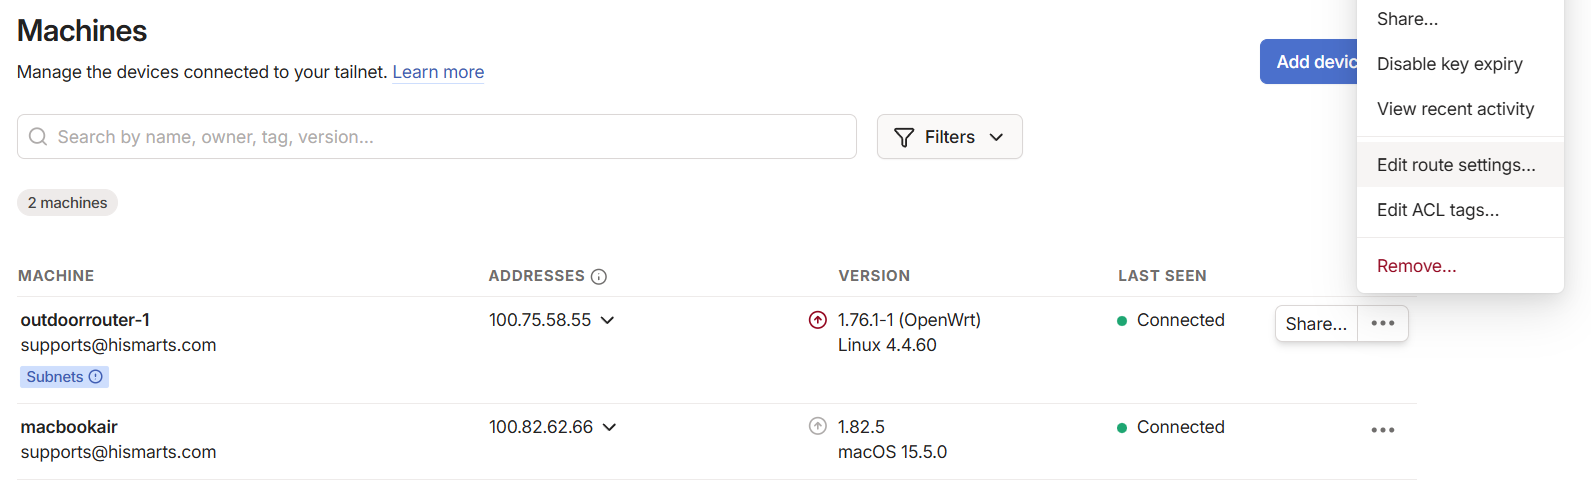
* Visit the [Tailscale Admin Console](https://login.tailscale.com/admin).
* Go to **Machines**, locate your router device, and turn on the **Subnet routes** option.
After completing the above settings, we can connect the remote device to the router and to the devices connected to it.